 Ages 0-3
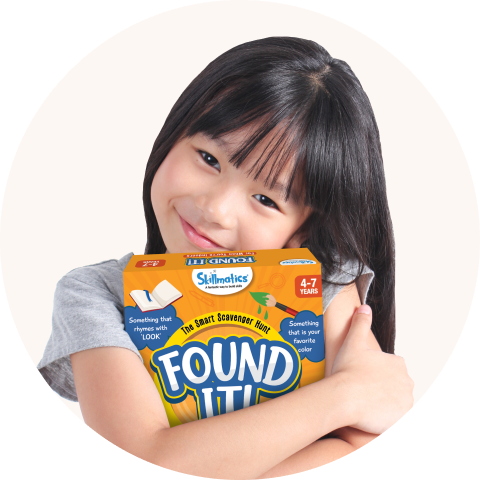 Ages 3+
 Ages 6+
 Ages 8+
 Arts & Craft
 Puzzles & Pretend Play
 Toddlers & Infants
 Learning Products
 Card & Board Games
 STEM Toys
How To Make Sand Painting Art On Paper? Where To Buy Sand Art?
Imagination, creativity, and expression together create art. It is a fuel for the brain to get all the juices flowing. What’s better? It is also a fun way to help improve your child’s gross and fine motor skills. Yes, that’s right. But as parents, we often forget to introduce art beyond the everyday oil pastels and colour pencils to our children. Think of art with sand, pulses, vegetables, and whatnot. Sounds interesting, isn’t it?
And so today, we are going to tell you about all things sand painting that are:
-
What is sand painting?
-
How to make sand art on paper?
-
How to make sand painting art?
-
Where to buy sand art?
We’ll get straight to the point!
What Is Sand Painting?
Sand painting is an art form that includes the use of coloured sand and powdered pigments from a variety of sources to create art. Typically, the sand or powdered pigment is poured over the surface to make a fixed (when using an adhesive) or an unfixed sand painting.
Unfixed sand paintings, in particular, hold a long-standing cultural significance in various parts of the world. For instance, they can be seen in the form of Rangoli in India, Aboriginal Art in Australia, or Tibetian sand mandalas.
Let’s jump into how to do sand art on paper!
How To Make Sand Art On Paper?
It’s not long and complex to understand, how to make sand art on paper. In fact, sand art is pretty simple to do.
Here’s what you will need:
-
Sand (brown or coloured)
-
Thick paper or cardstock (any size will do)
-
Child-friendly craft glue
-
A pencil and an eraser
-
Stencil (it’s a bonus, no compulsion!)
-
A paint brush
-
A small spoon
-
A tray
-
1-2 newspapers
Once you have gathered all the material, follow the steps given below:
#1 - Choose a Design
Before you get to the sand part of it, you will first have to decide what you want to draw. Think of different options like a sandcastle, a boat, any animal, or even a simple mandala. Get creative! If you have a stencil with you, nothing like it!
#2 - Sketch the Design
Once you have chosen the design, sketch it on the paper or the cardstock. If you are using coloured sand, go ahead and mark the parts of the drawing with the colour codes. These colour codes represent the colour of the sand that will be used on the said part. This will make the process as easy as possible.
#3 - Apply Glue
Place the paper on a newspaper to keep your floor free from any sand and glue spots. Then, pick a section to start with. With a paintbrush, apply the glue to the area. Work in small sections to prevent the glue from drying before you apply the sand. If the glue is too thick, you can add a few drops of water to thin it, making it easier to apply and spread.
Be mindful of the amount of glue you apply. Too little will not hold the sand properly, while too much will make the paper sticky and make the sand look untidy.
#4 - Pour the Sand
Once you have applied the glue, use the small spoon to pour the sand over the glued area. Sprinkle it gently so that everything is covered. Make sure to not pour too much sand on a small area. Just enough to leave no empty spaces.
#5 - Shake It Off
Let it sit for a minute or two. Then, gently pick up the paper and shake off the excess sand on the newspaper or the tray. Allow the sand art to dry before adding more layers to the same area.
#6 - Repeat
Repeat the steps 3 to 5 to cover all areas of the sketch. Once the entire design is covered, keep it aside to settle and dry.
Pro tip: If you want the art to last longer, spray a light coat of clear fixative or hairspray over it. However, this should be done by an adult or under an adult’s supervision as the fumes can be harmful.
How To Make Sand Painting Art?
Now that you’ve learned how to make sand art on paper, let’s make this activity a bit more challenging! Art is all about mixing different forms, textures, and mediums. So why not combine sand art with crayons? Or add other elements like seashells, pistachio shells, or pulses?
To mix sand art with painting, simply decide which areas you would like to colour and which ones you would like to cover in the sand. The same goes for the elements. Once you do that, follow the steps given above.
Note: The steps for sticking seashells, pistachio shells, or pulses will remain the same. However, you can choose to apply glue to seashells and pistachio shells individually rather than applying it to the paper.
Where To Buy Sand Art?
Ah! Perhaps the most interesting question is - Where To Buy Sand Art? Is there a kit that includes everything on how to do sand art on paper? Yes!
Skillmatics has not one but two Sand-tastic art kits for your kids. Designed for kids aged 4 to 10. These Sand-tastic art kits are based on two themes:
What’s inside each of these?
-
50+ Stickers
-
4 Picture Boards
-
7 Colourful Sand Bottles
-
Mess-Control Sand Tray
-
Magical Rainbow Pen
-
Dab Sponge
-
An Instruction Manual
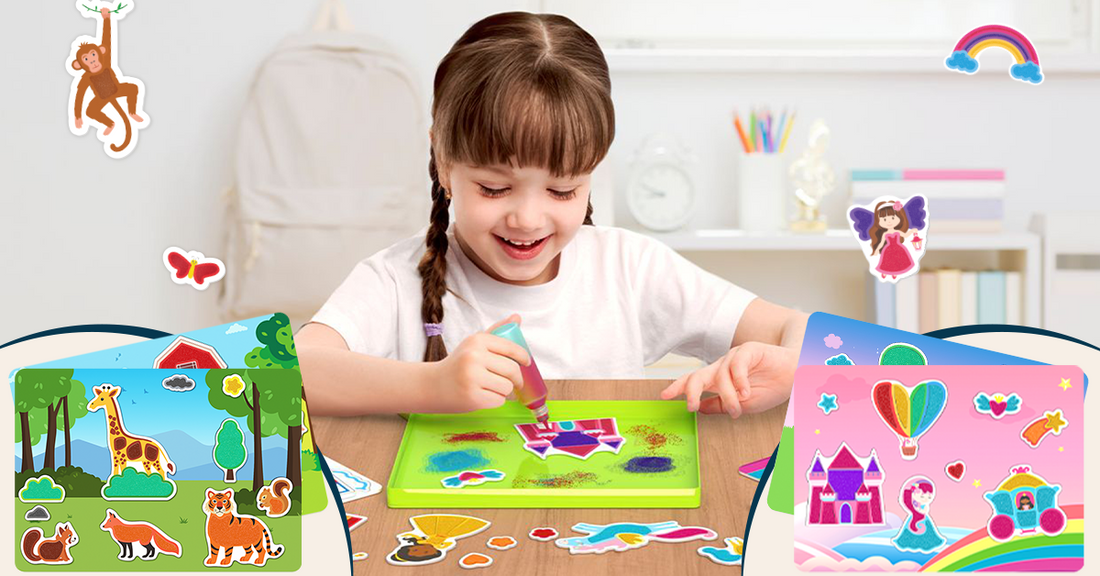
It is extremely intuitive to play with. The best part? These kits are designed to keep the fun of sand art alive while minimising the mess!
All your kid needs to do is peel off the stickers, colour them with colourful sand, dab it with the sponge, and stick them on the picture canvases. Once the mess-control sand tray is full, you can transfer the leftover sand into a magical rainbow pen to colour in more stickers. This ensures zero waste and endless creativity.
Conclusion
Sand painting art just got easier and fun to play with, didn’t it? So, why not get your little artist started with it today? Let their creativity flow as they explore textures, colours and joy in sand art painting!